

Kitchen renovation ideas that add real value sit on a spectrum from a $50 tile-paint job to a $23,000 refresh of cabinets, lighting, and floors.
The deciding factor is not your budget but your layout: keep the existing footprint and you keep the 77.6% return that drops to 58.6% once walls move and plumbing reroutes.
That math is what separates a smart weekend project from a money pit.
1. Dress Up Your Dated Backsplash
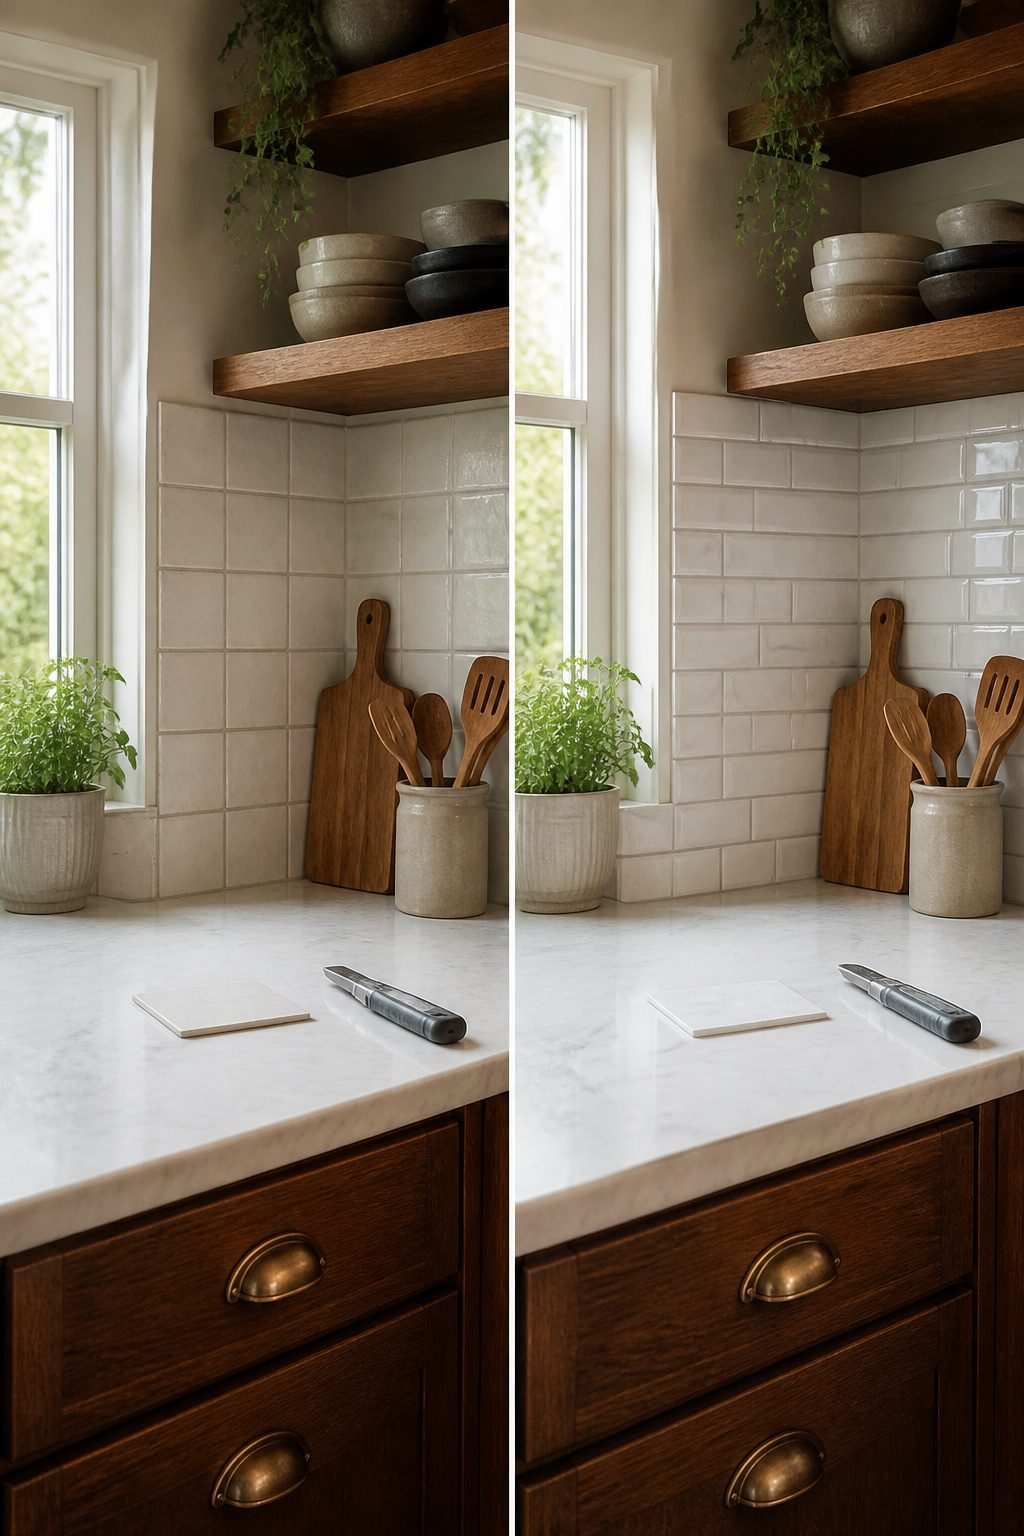
A dated backsplash drags down the whole kitchen, but tearing it out and re-tiling is a project most weekend budgets cannot absorb. Three surface-level fixes cover the same ground for a fraction of the effort.
Peel-and-stick tiles run roughly $3–$10 per square foot and install with nothing more than a utility knife and patience. The better vinyl options now mimic subway tile and even thin brick convincingly, though the adhesive softens with sustained heat.
I would keep them away from the wall directly behind a gas cooktop; the steam and splatter find the seams over time.
Removable wallpaper lands even cheaper, around $1–$5 per square foot, and the wipeable vinyl-coated papers handle grease better than standard stock.
Pattern scale decides everything. Small repeats read busy in a backsplash expanse, so I look for designs with at least a six-inch repeat and test a swatch under the cabinet lighting before committing.
Painting existing tile is the most durable near a stove. Etch the glaze with 220-grit sandpaper, prime with a bonding agent meant for glossy surfaces, and use a high-gloss enamel in two thin coats.
The whole job costs maybe $50 in materials. The painted surface will chip if you knock a cast-iron skillet against it, but it will not peel from heat the way adhesive products can.
2. Paint Your Kitchen Cabinets and Trim
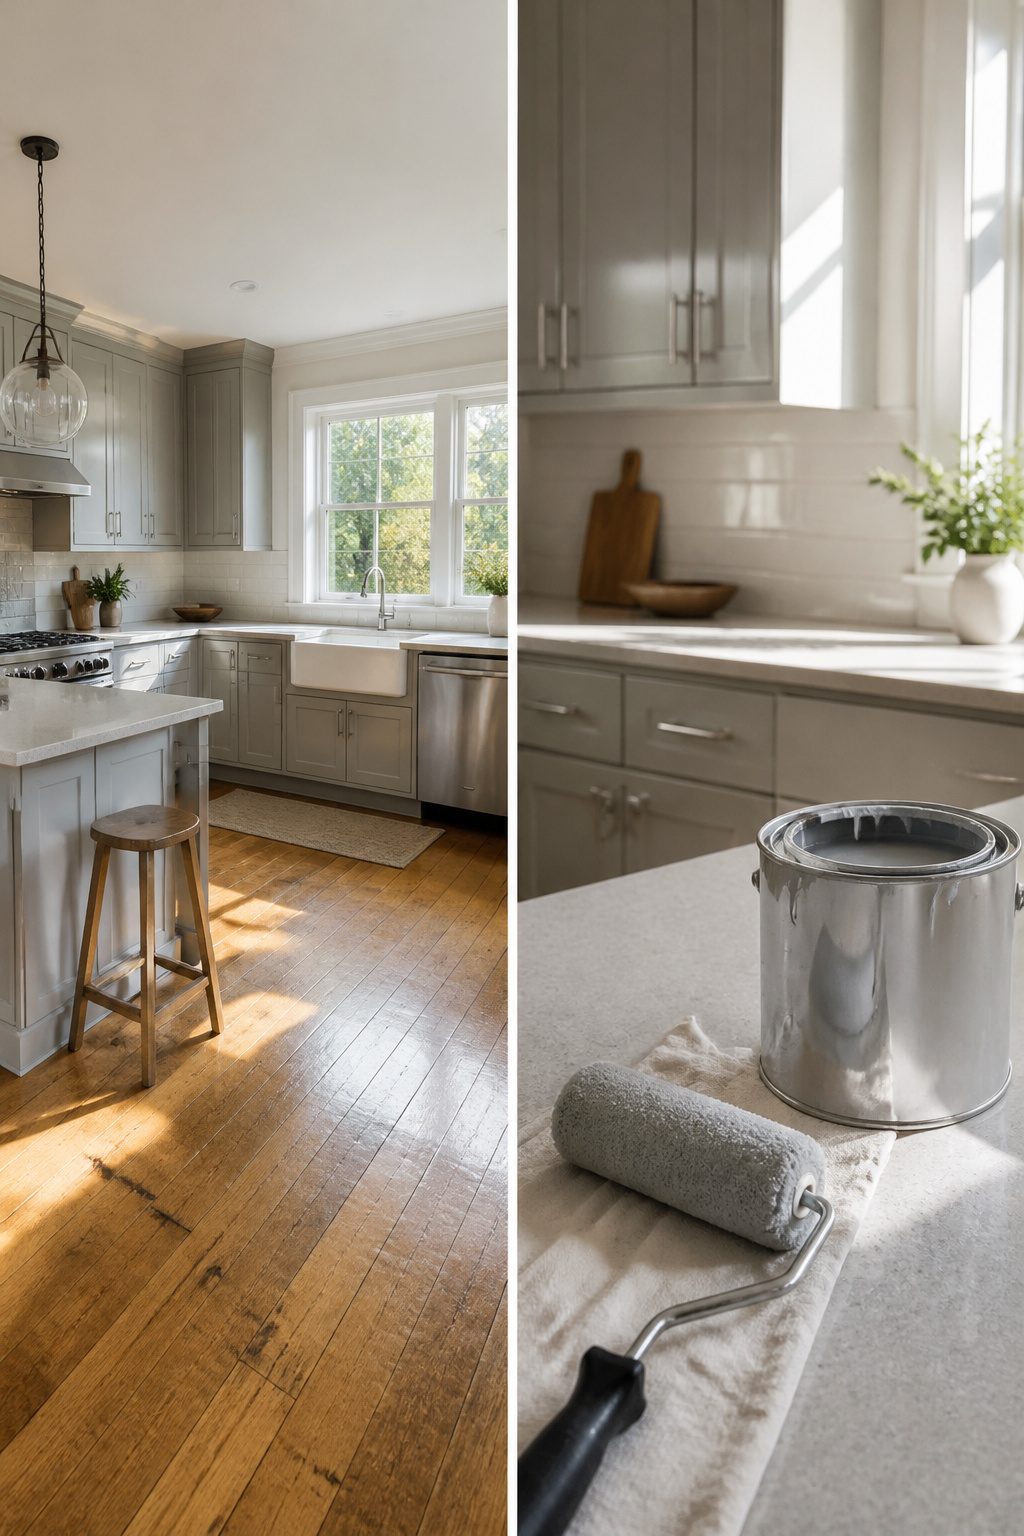
Dented and dingy cabinets sit at eye level and cast a disproportionately long shadow on the whole room, which is why painting or refinishing them is the single most cost-effective way to change a kitchen.
A fresh coat on cabinets and trim runs roughly $200 to $400 in supplies against the thousands a full replacement demands, and the work pays back in visual impact far above what the price suggests.
This is also one of the few kitchen projects a determined DIYer can finish in a weekend. The prep, sanding, priming and two top coats break cleanly across Saturday and Sunday if you start early and keep the workspace ventilated.
I would skip the wall color for now and put every hour into the cabinets instead; they occupy more visual real estate and the trim ties the room together once it matches.
The shade matters more than the brand.
Pick a color that melds naturally with the rest of your home’s scheme, not whatever white is trending this season. A mismatch between kitchen and adjoining rooms reads as a half-finished job no matter how smooth your brushwork.
If the existing cabinets are structurally sound, paint wins. If the boxes are falling apart, paint only postpones the inevitable.
3. Swap Out Dated Hardware and Faucets
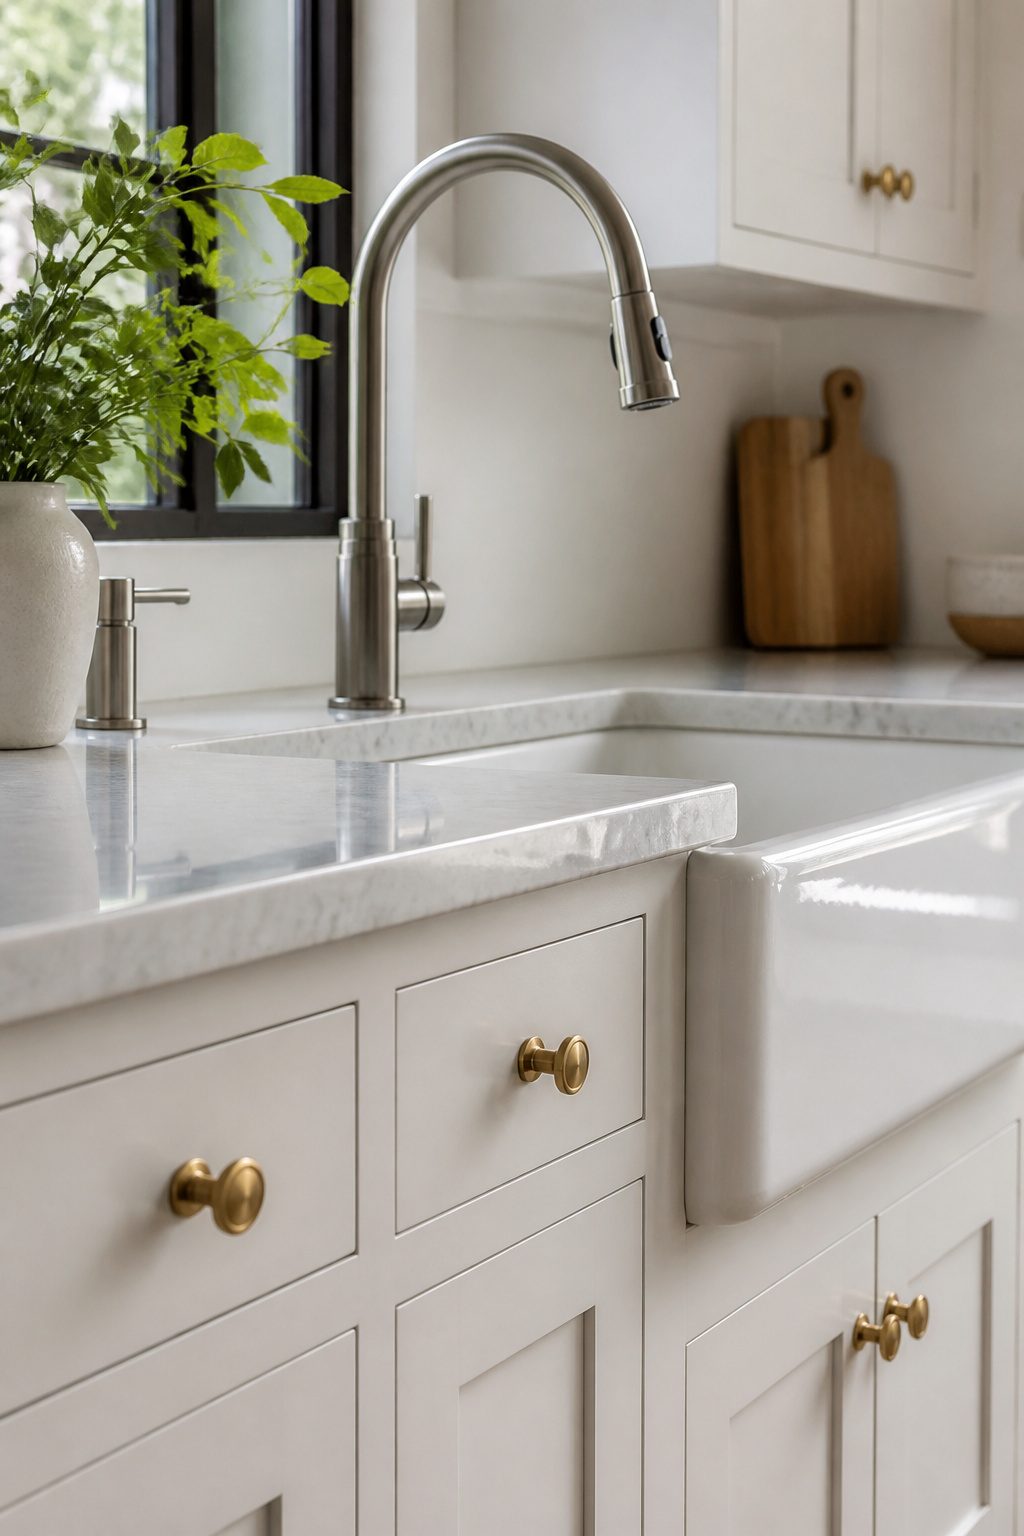
The hardware on your cabinets sits at eye level and casts a longer shadow than most people realize.
Dented, dingy, or shiny brass knobs in a dated style can drag down a kitchen that is otherwise fine. Swapping them out is the easiest entry point for beginners because you need only a screwdriver and an afternoon.
If you are mixing knobs and pulls, Amerock hardware holds up well for the price.
For a strict budget, search for knobs sold in packs of 20 or 30. Brushed brass or matte black finishes run cheaper per piece and still read as modern.
The faucet matters just as much. A low spout that forces you to angle pots awkwardly under it is a daily annoyance.
A high-arc brushed nickel faucet fixes the function and the look at once, and the pairing with a matching soap pump pulls the sink area together.
Most renters can handle this swap if the supply lines cooperate; homeowners with basic tools can manage it in an hour or two.
The risk is over-tightening and stripping the cabinet holes. Go gentle, use a handheld screwdriver for the final turns, and stop when the hardware sits flush.
4. Add a Kitchen Island
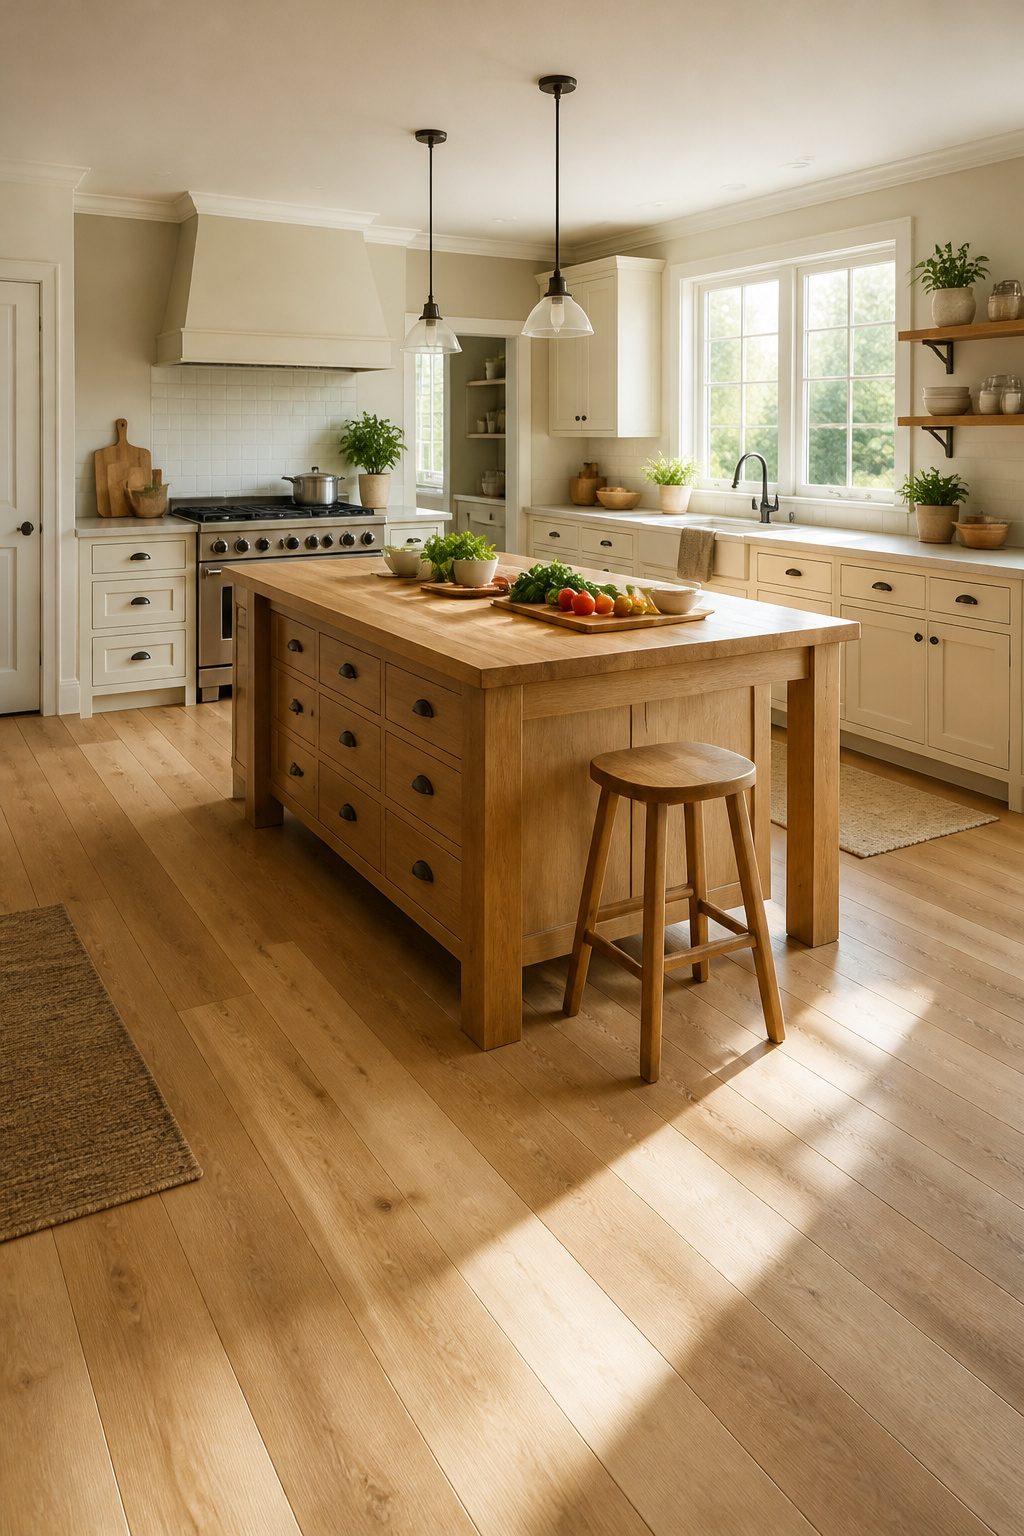
A kitchen island earns its floor space by doing several jobs at once.
It adds counter surface where the main run is crowded, houses storage that frees wall cabinets, and gives you a place to chop vegetables while someone else is at the stove.
In open plans, it also marks the kitchen’s edge without building a wall.
Costs swing from a few hundred dollars for a stock rolling cart with a butcher-block top to several thousand for a built-in unit with stone, drawers, and seating overhang.
Where you land depends on size and whether you are plugging in plumbing or electric.
The 36-inch clearance on all sides is the rule I watch most closely. Less than that and drawers collide, chairs trap people, and the flow turns annoying fast.
Existing kitchens rarely fit a standard footprint without adjusting, so I measure twice and assume the island will need to be smaller than the catalog picture, not larger.
5. Install New Energy-Efficient Appliances
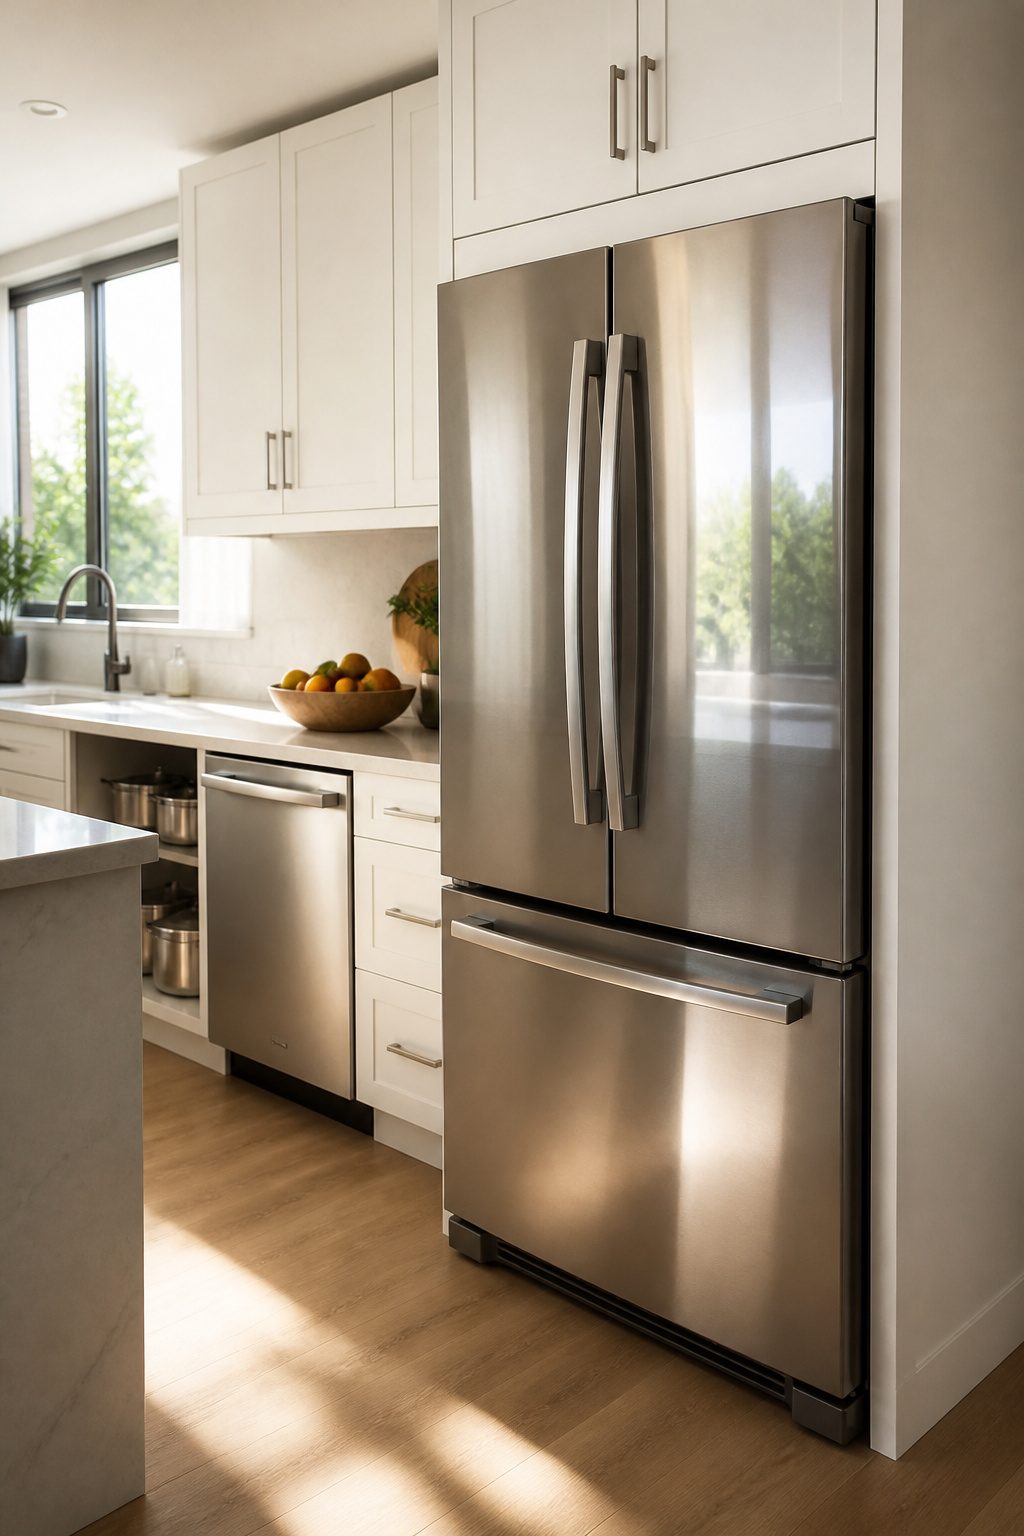
The Energy Star label is the quickest way to spot appliances that meet or exceed federal energy standards.
Refrigerators, ovens, stoves, dishwashers, and even smaller items like toasters carry it now. I tend to look there first because the certification actually means something: the model has been tested against real usage benchmarks, not just marketed as "green."
New appliances are a long-term buy that pays back on the utility bill, and they give your kitchen an edge if you sell.
A buyer walking in sees a matching set from the last few years and registers the whole kitchen as updated, even if the cabinets and counters are original. That perception shift is worth more than the rebate alone.
Where this fits with a weekend-level renovation, I would pair it with painting cabinets or swapping hardware.
The stainless or black finish reads as intentional against fresh paint, and you avoid the disjointed look of a single expensive item sitting among tired surroundings.
If your budget forces choice, the refrigerator matters most; it runs constantly and draws the eye.
6. Update Lighting
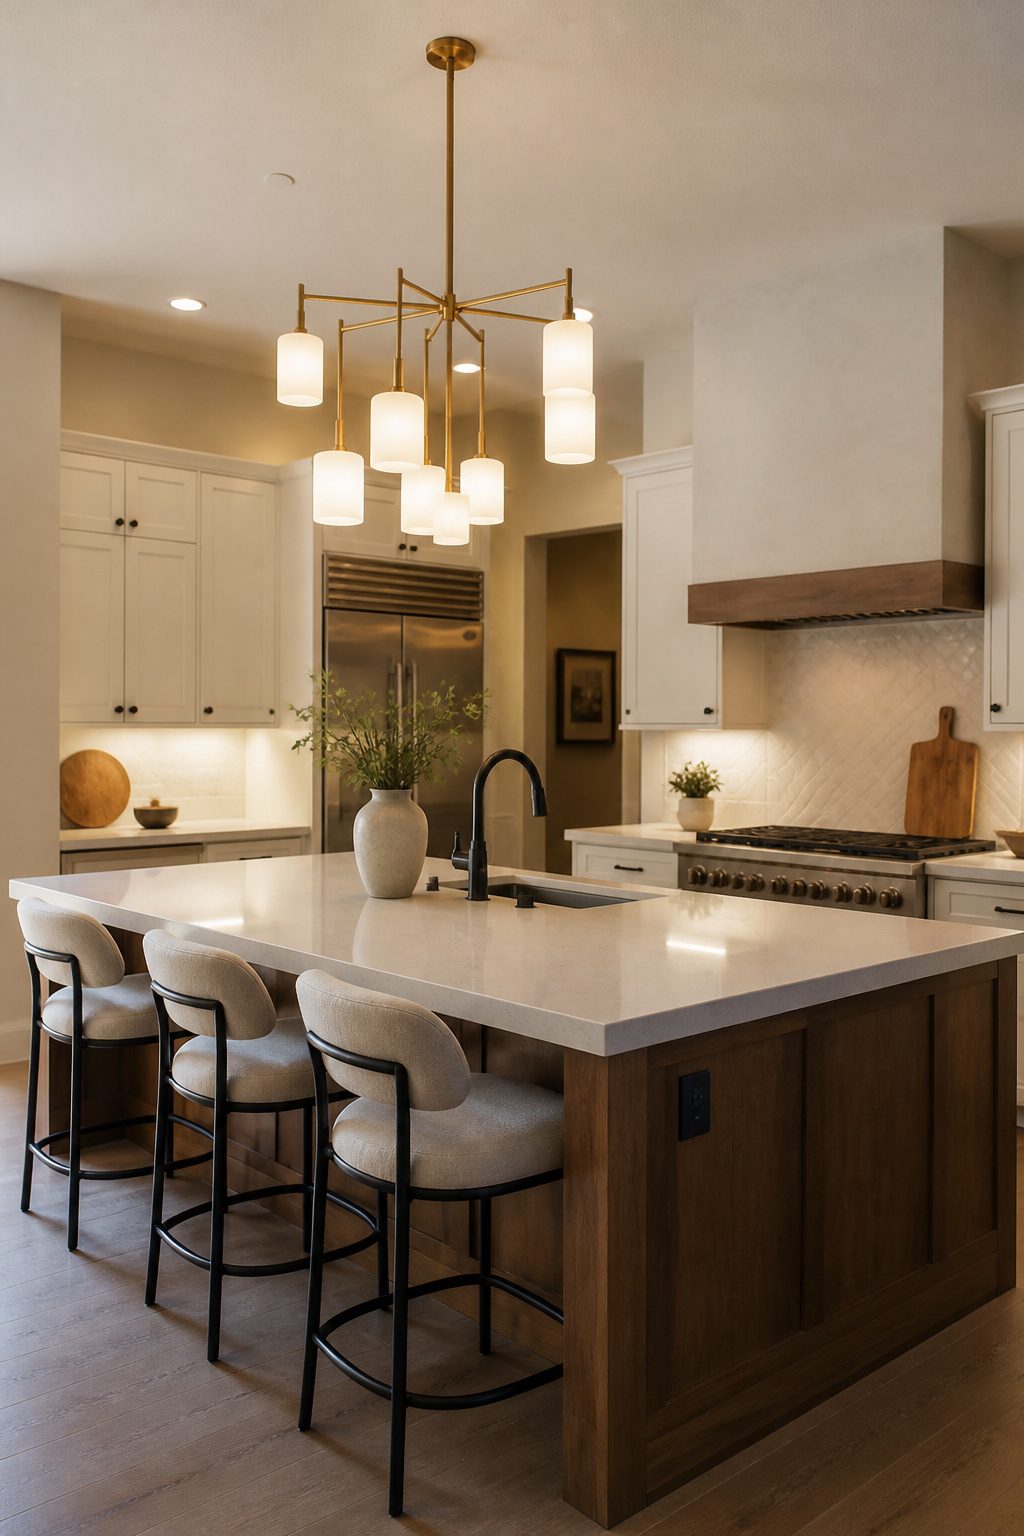
Most kitchens ship with just one or two fixtures overhead, which leaves the counters in shadow and the whole room feeling smaller than it is.
Swapping in a six-light chandelier with a shade over the island, or pendant lights of varying sizes for task lighting, changes how the space reads without touching a wall.
The arrangement matters: pendants hung too high lose their purpose, too low and they block sightlines across the room.
Under-cabinet options are where the real shift happens. LED strips mounted next to upper cabinetry illuminate what you are actually doing at the counter, and floor-level accent lighting below open shelves throws soft shadows that add depth.
Recessed downlighting from stainless steel pendants above countertops keeps the look contemporary without claiming visual space.
Energy-efficient LED bulbs pull the electricity bill down while the brightness goes up, and a dimmer lets you flatten the light for morning coffee or dial it up for prep work.
Track lighting with a dimmer costs far less than recessed cans but reads as intentional design, especially when you need to work around existing ceiling boxes. eBay and Facebook Marketplace are worth checking if you are hunting something with more personality than the big-box basics, though I would spend the savings on a better bulb temperature: 2700K for warmth, 3000K if you want the room to feel clean without going clinical.
7. Incorporate Open Shelving
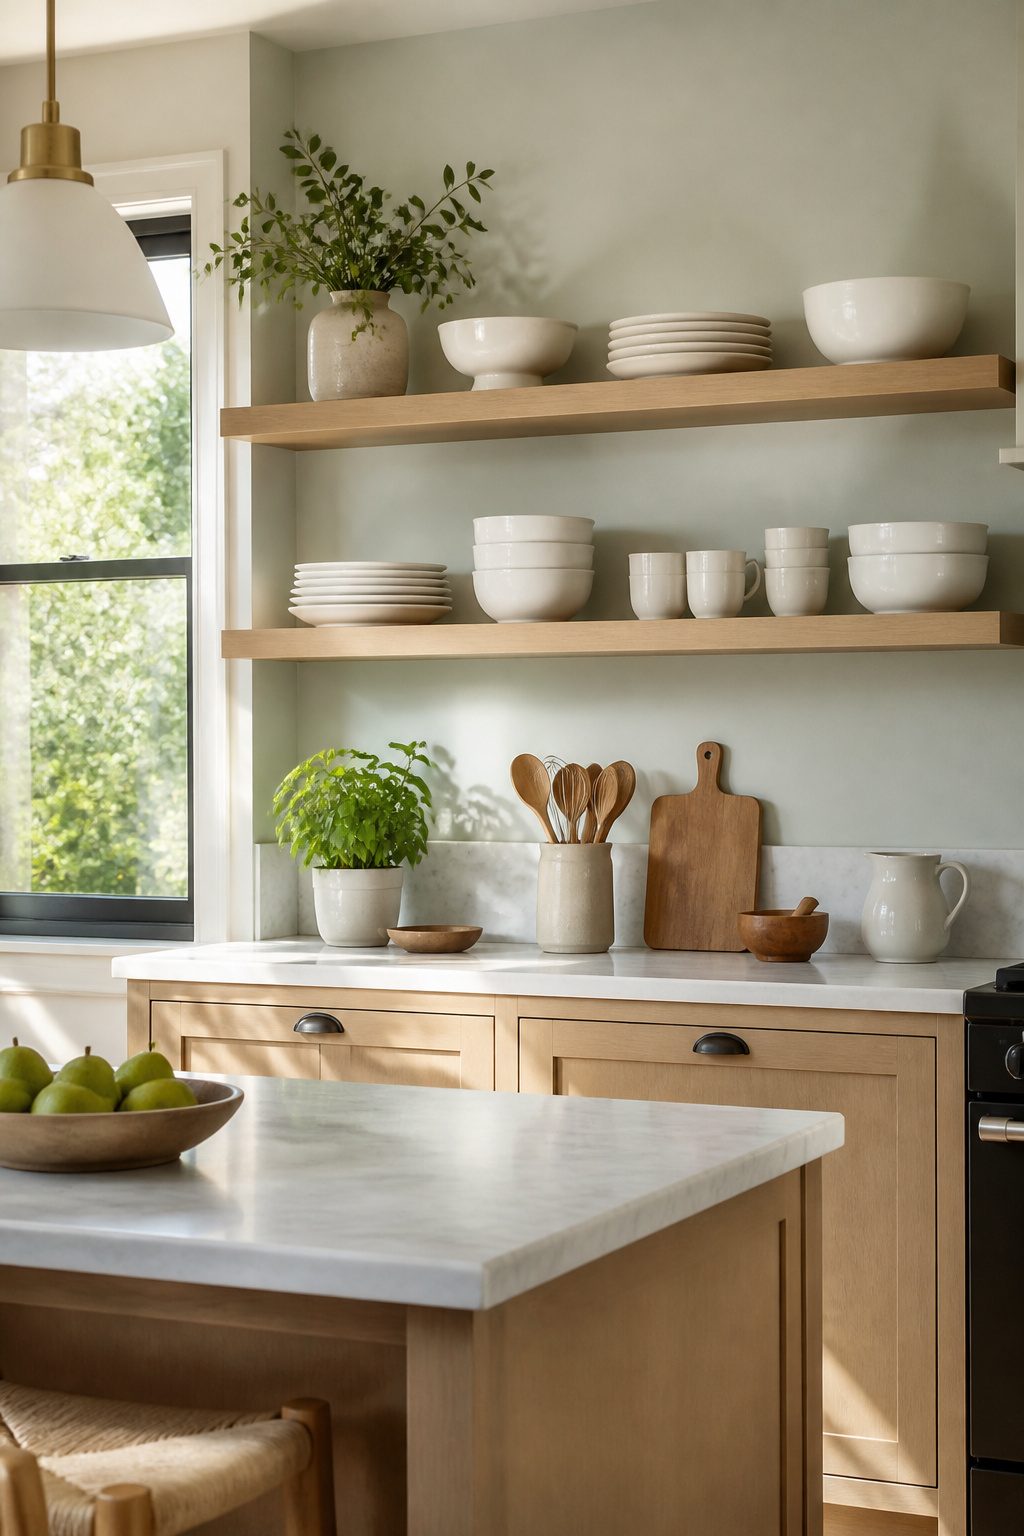
Open shelves where upper cabinets once sat change how a kitchen feels and functions, but only if the wall behind them is finished and the items on display are chosen with some intention rather than convenience.
Bare drywall or leftover patches read as unfinished, so a coat of paint or a simple backsplash behind the shelf line is non-negotiable.
The accessibility is real: dishes and glassware sit at arm’s reach without a door swing to work around. That openness turns against you if you treat the shelf as overflow storage.
I think the look works when you limit what’s up there to pieces that share a color or material thread, maybe a set of white ceramic or a line of matching jars, and let the rest live in lower cabinets where clutter hides.
For a weekend project, this is one of the lighter lifts. Removing a run of uppers and installing a few brackets and boards runs under the cost of new cabinetry by a wide margin.
Open shelves gather grease and dust faster than anything behind a door, and the visual pressure to keep them tidy never really lets up.
If you cook daily and stack plates straight from the dishwasher, this might frustrate you. If you use the kitchen less often and enjoy styling, it probably won’t.
8. Use Unique Flooring Treatments
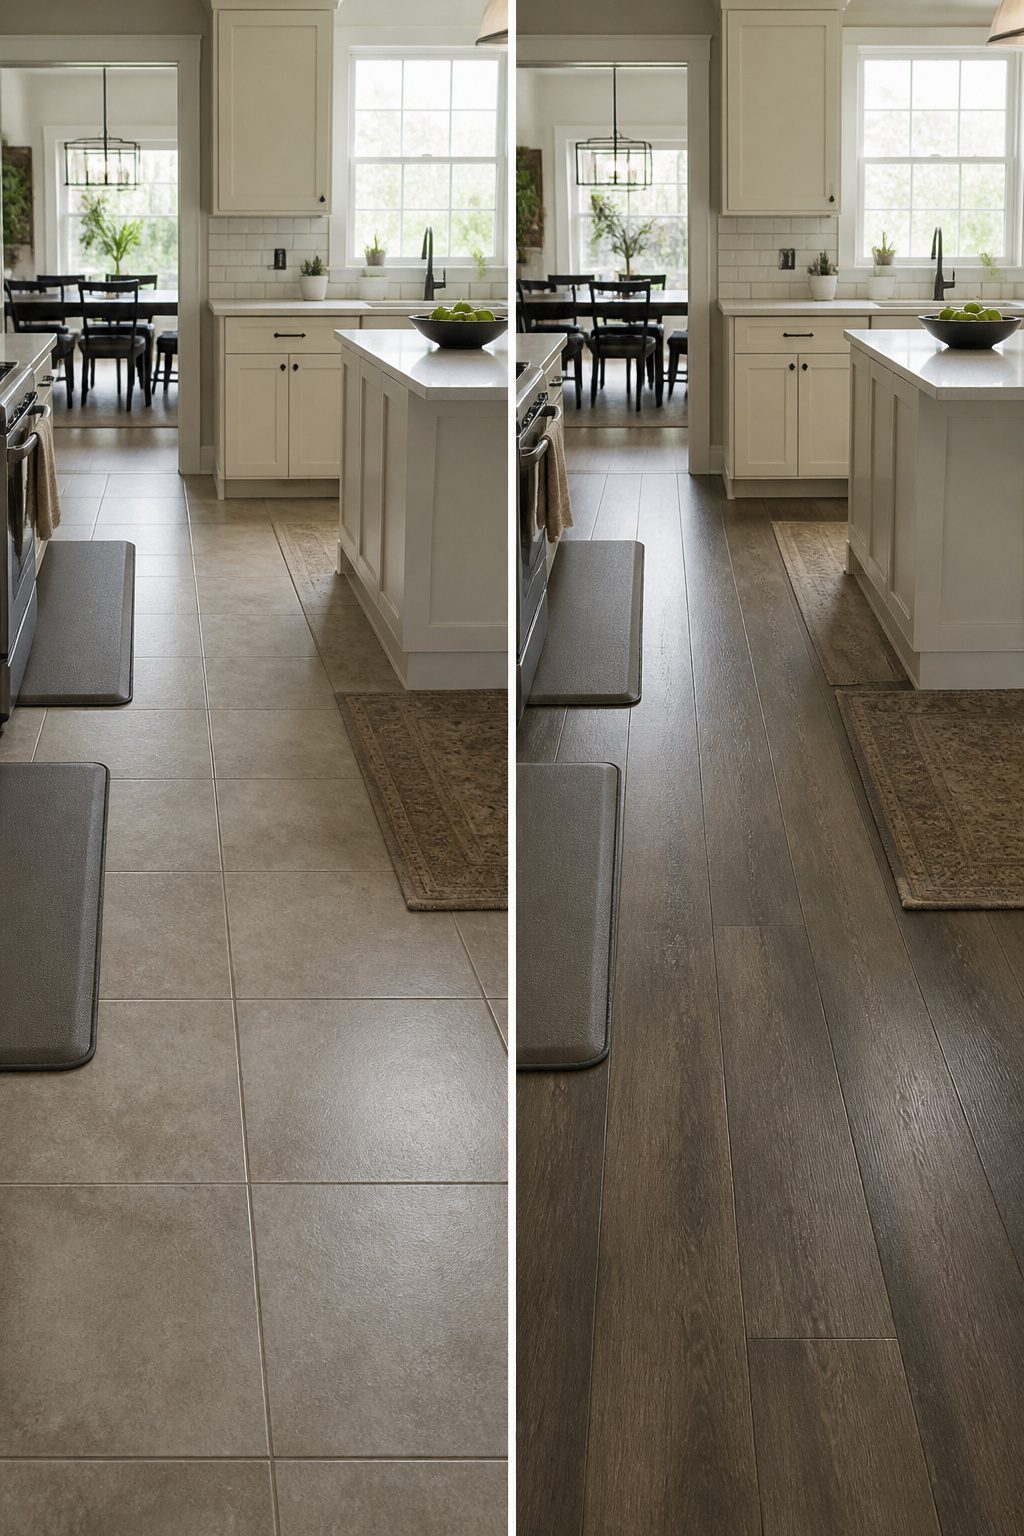
Kitchen floors take a beating that cabinet faces never see. Every spilled pot of pasta water, every appliance dragged across the vinyl, every drop of hot oil leaves its mark.
Replacing that worn surface with something newer and tougher protects the room’s foundation and gives the whole space a finished feel that registers even at a glance.
Laminate runs a fraction of the cost of stone or ceramic tile, wears better against scratches than hardwood, and clicks into place without the wet curing time that keeps you out of the kitchen for days.
I would not choose the thinnest planks, the 6 mm wear layers that dent under a dropped cast-iron skillet. A 10 or 12 mm laminate with an AC4 rating handles residential traffic without telegraphing every subfloor imperfection underneath.
This is the largest project on the list. Moving the refrigerator, cutting around baseboards, and living without a kitchen floor for even a weekend upsets daily routines more than swapping hardware or painting cabinets.
Plan it to coincide with other lower-body work: new baseboards, appliance swaps, or the island install you already have scheduled.
Tackle the floor first in that sequence, or last; never sandwich it between two other projects that require the same heavy lifting twice.
9. Incorporate Natural Elements
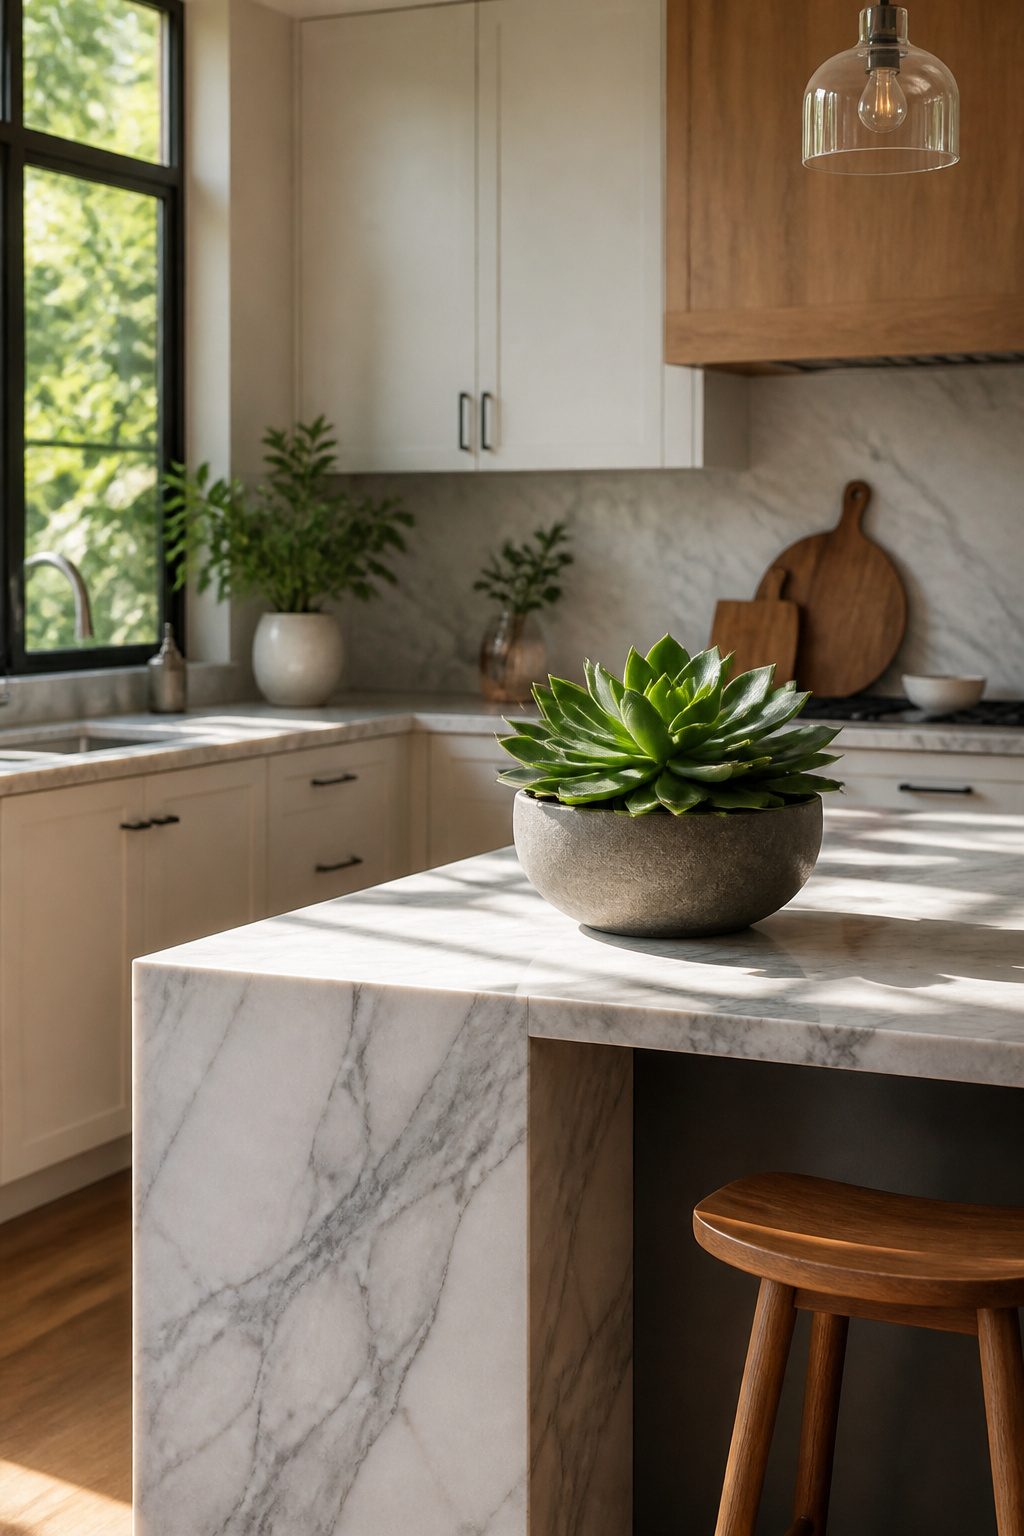
Wood and stone bring the mountain aesthetic into a kitchen without touching a single cabinet.
A hardwood cutting board left on the counter, a stone trivet by the stove: these small anchors of natural material warm up white or painted cabinetry faster than any appliance swap.
Hardwood and stone work best when the warmth repeats somewhere else in the room; without that echo, the gesture reads random.
A wooden bar stool in a similar finish ties the counter piece into the larger space rather than letting it read as clutter.
Plants do the same work at lower cost and lower commitment.
Succulents on a windowsill, a trailing pothos on an open shelf: greenery softens the hard surfaces that dominate most kitchens. A single plant on a marble island can stand in for a centerpiece when you need the counter space back.
The low-maintenance options matter here, because a kitchen is already a room of dying things, herbs included. I keep succulents and snake plants; they tolerate the temperature swings near the oven and forgive a missed watering during a busy week.
The risk with natural elements is visual noise. Stone and wood each carry strong texture, and too many competing grains or veining patterns fight for attention.
I limit myself to two wood tones in a kitchen, maximum, and keep stone to one surface, whether counter or trivet or a single backsplash accent. The discipline pays off in calm.
10. Preserve Existing Features
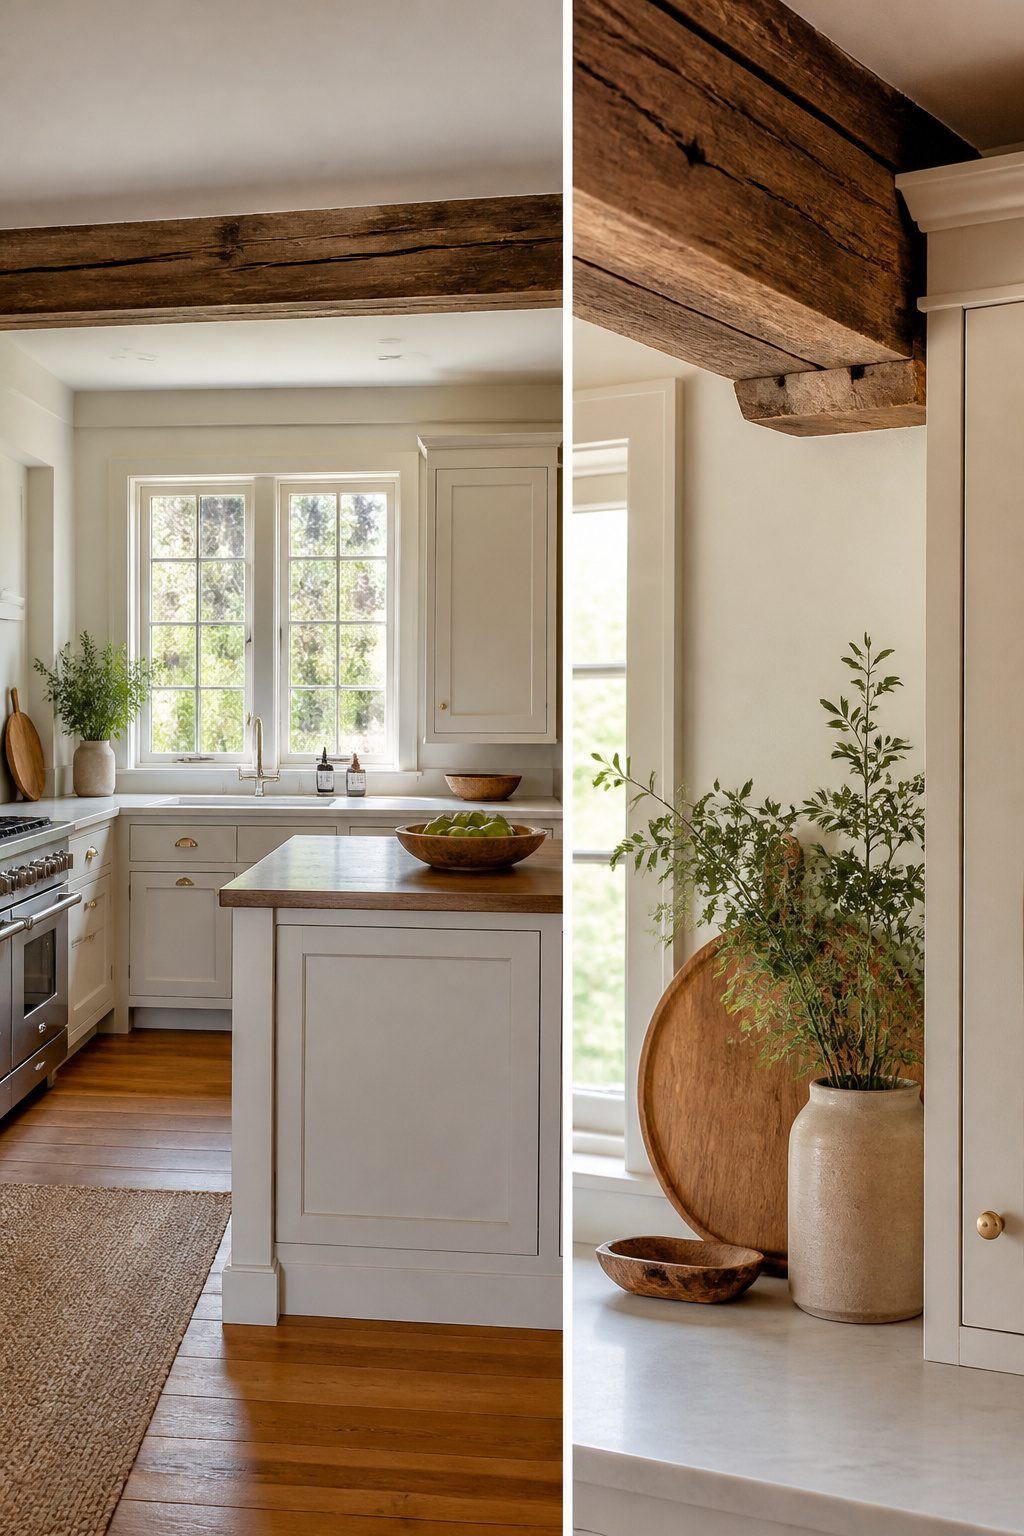
Original windows, beams, and built-ins carry a kind of character that new construction spends thousands trying to fake.
I have seen homeowners rip out a solid oak built-in hutch or cover a ceiling beam with drywall because it felt "dated," and the result is always the same: a space that looks sterile and costs more than if they had worked with what they had.
The move is to treat these features as the anchor, not the obstacle.
A 1930s casement window does not need to match your new cabinets; it needs cabinets that step back and let the window read as the detail that matters.
Paint trim to blend with walls if the wood tone fights your palette, or strip and oil it if the grain is worth showing.
Old ceiling beams pair cleanly with flat-panel cabinetry in a muted color; the contrast between rough timber and smooth lacquer does the work of "design" without ornament.
For built-ins, I usually keep the shell and replace just the hardware or the back panel, maybe with beadboard or a quiet tile that picks up another color in the room.
The cost of patching drywall and matching trim after you remove a built-in often runs higher than refinishing it. That is the calculation I would make first.
Budgeting for Your Kitchen Remodel

A minor kitchen renovation runs about $23,000, while a full gut job sits closer to $68,500, and the smaller figure is the one that actually pays you back.
The return on that lighter spend averages 77.6%, against 58.6% for the major work, so the math favors keeping your cabinets, your layout, and your patience intact.
For that $23,000 tier, I would put painted cabinets, new hardware, a backsplash refresh, and lighting updates at the top of the list.
They read as transformation without touching plumbing or wiring in any serious way. Open shelving fits here too if you are willing to lose a weekend to brackets and leveling.
The $68,500 major renovation is where you move or add a kitchen island, swap appliances for energy-efficient models, and tear into flooring. Those projects need trades, permits, and time you cannot squeeze into a Saturday.
I always start with whatever is broken or unsafe.
A leaking faucet or a stove that scares you deserves the first dollars. After that, paint and hardware deliver the visible change that makes the kitchen feel finished even when the budget is not.
Survival Tips for a Kitchen Remodel
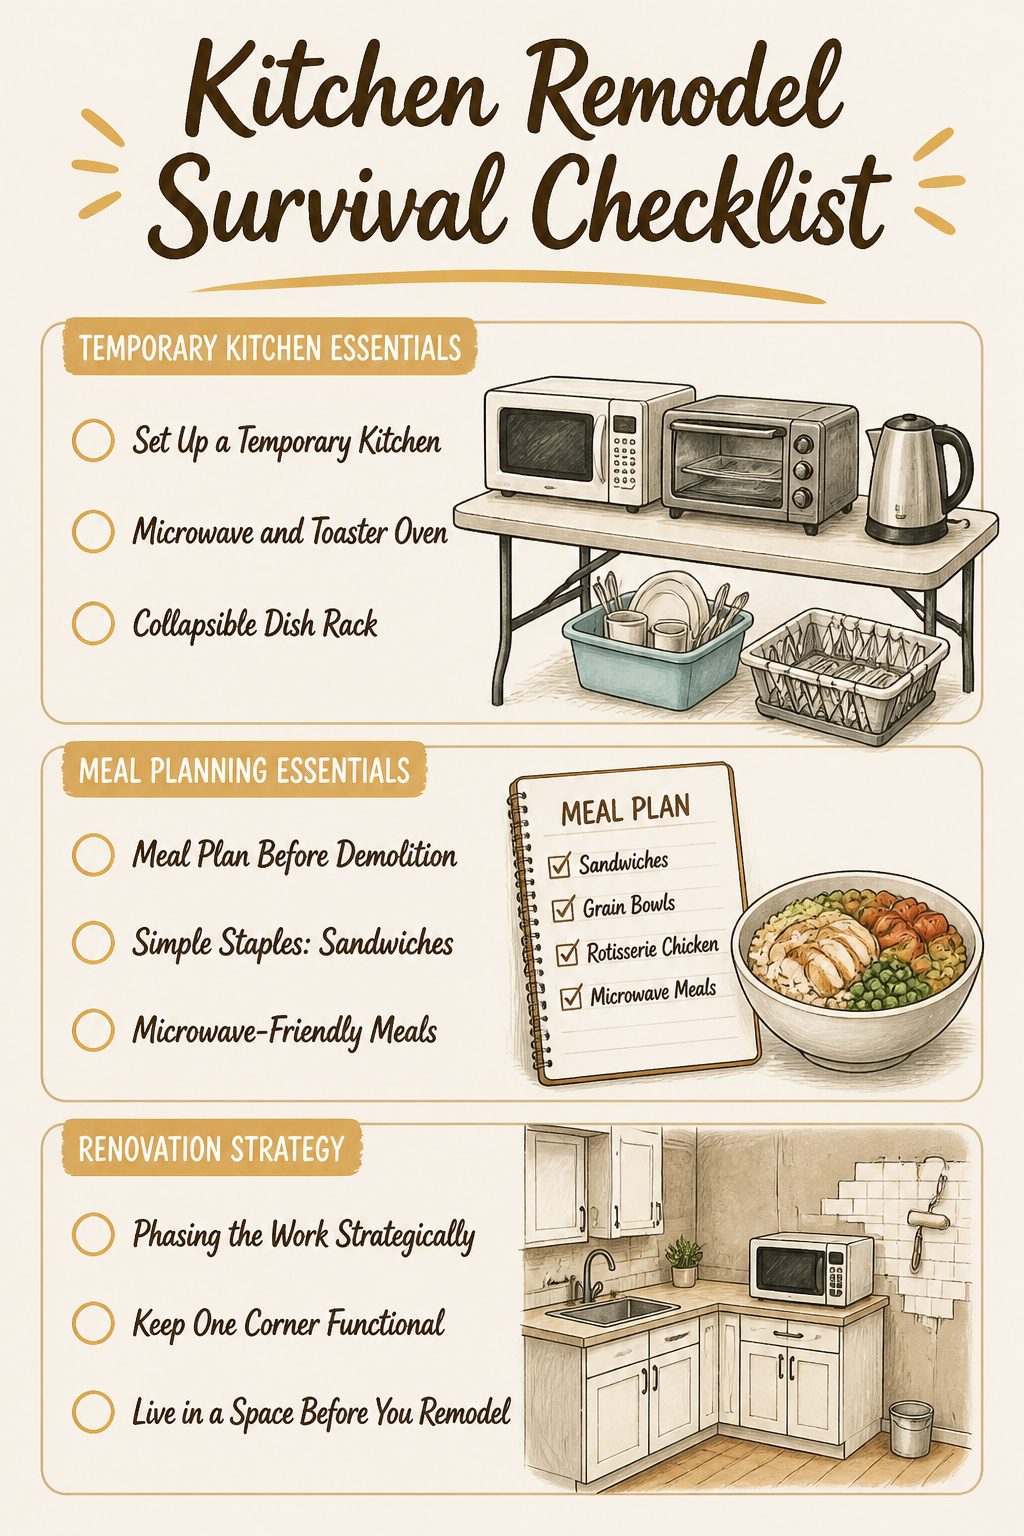
A temporary kitchen saves the project from becoming a months-long takeout habit.
I set mine on a folding table against the dining room wall: microwave, toaster oven, electric kettle, and a plastic bin for dishes. A $30 collapsible dish rack from any big-box store keeps the water contained.
The real trick is meal planning before demolition starts. Sandwiches, grain bowls with rotisserie chicken, and anything that heats in a microwave become your staples for two to four weeks, depending on how deep the renovation runs.
Phasing the work so the kitchen is never fully dead is worth the extra coordination. I schedule plumbing and electrical first while old cabinets still stand, then cabinets, then counters, then backsplash and paint.
You keep one working corner until the final week. The Collins family waited eleven years before remodeling their 1930 Spanish Revival kitchen, and that patience let them see exactly how they used the space.
Live in a space for a while before you remodel it.
For most readers, six months of actual cooking in your current kitchen is enough to know whether you reach left or right for the colander, and whether that awkward corner is worth fixing or ignoring.
Smart Technology and Current Trends

Smart appliances have moved from novelty to the place where I think they earn their keep.
A refrigerator or range that carries the Energy Star label meets federal standards for water and energy use, and that is where the real return sits: lower utility bills and a clear edge in resale value over a house with aging machines.
The convenience of a Wi-Fi-enabled oven or voice-controlled faucet is pleasant, but I would not pay extra for it unless the appliance already hits the efficiency mark.
Where technology meets the visual side of a kitchen renovation, the overlap gets more interesting. Statement lighting, bold cabinet colors, and multifunctional layouts are the trends that sources kept circling back to in 2023, and they pair naturally with smart choices.
A single pendant over an island that also serves as a desk or breakfast bar is doing two jobs; one with a dim-to-warm LED and a sculptural shade is doing three.
The fixture you pick should be the one you would notice from the living room, not just the one that lights the counter.
Vivid color on cabinets and creative textures are the counter-trend to the all-white kitchen, and they work especially well in a space that already has smart storage keeping the surfaces clear.
I see the risk: a bright cabinet plus a busy backsplash plus an ornate fixture is too much.
My rule is one bold move per sightline. The technology, the color, and the lighting each add something the others do not, but they need their own territory to do it in.
Frequently Asked Questions
What are some cheap kitchen renovation ideas on a budget?
Painting cabinets and trim runs about $200 to $400 in supplies, peel-and-stick backsplash tiles cost $3 to $10 per square foot, and swapping hardware needs only a screwdriver and an afternoon.
Open shelving, updated lighting, and laminate flooring also deliver visible change without touching plumbing or wiring. These projects fit the minor renovation tier that averages 77.6% return, against 58.6% for a full gut job.
Can I redo my kitchen myself?
Yes.
Painting cabinets, installing peel-and-stick backsplash tiles, swapping hardware and faucets, and hanging open shelves are all weekend-level projects a determined DIYer can finish. Only flooring and appliance installs with plumbing or electrical work typically need trades.
How can I make a small kitchen look bigger on a budget?
Paint cabinets and trim in colors that meld with adjoining rooms rather than going darker or trendier; lighter continuous tones keep sightlines open.
Add under-cabinet LED strips to eliminate shadowed counters, which makes the room feel smaller than it is. Open shelving in place of bulky uppers also opens wall space visually, though it requires discipline to avoid clutter.
What are affordable ways to upgrade my kitchen countertops?
Laminate runs a fraction of the cost of stone or ceramic tile and wears better against scratches than hardwood. Butcher block on a rolling island or cart also adds prep surface without replacing the main counter run.
What is the easiest way to update my kitchen?
Swapping cabinet knobs and pulls, plus replacing a dated faucet with a high-arc brushed nickel model, takes one afternoon and basic hand tools.
These sit at eye level and cast a disproportionately long shadow on the whole room. Pair with fresh paint on cabinets and the transformation reads as intentional even when the budget is thin.
What are some timeless colors for kitchen cabinets?
Pick a color that melds naturally with the rest of your home’s scheme rather than whatever white is trending this season. A mismatch between kitchen and adjoining rooms reads as half-finished no matter how smooth the brushwork.
What is the 3×4 kitchen rule?
It does emphasize a 36-inch clearance on all sides of a kitchen island; less than that and drawers collide, chairs trap people, and the flow turns annoying fast. This clearance rule is the spatial guideline the author watches most closely.
What are some affordable ways to update my kitchen?
Painting cabinets, refreshing the backsplash with peel-and-stick tile or painted existing tile, updating hardware and faucets, and installing new lighting deliver the most visible change per dollar.
Can you remodel a kitchen for $5000?
At $5,000 you would need to be even stricter: focus on painted cabinets, hardware swaps, a peel-and-stick backsplash, and perhaps a single lighting fixture change, doing all labor yourself.